

Stitching Your Story: How to Make an Embroidered Badge
Release time:
2025-12-23
Introduction: The Charm of Embroidered Badges
Hey there, badge enthusiasts! If you've ever admired those colorful embroidered badges on jackets, bags, or hats and thought, "How cool would it be to make one myself?" Well, you're in luck! Today, we're diving into the world of embroidery, specifically on how to make an embroidered badge that's not only unique but also tells your story. So, roll up your sleeves and let's get crafting!
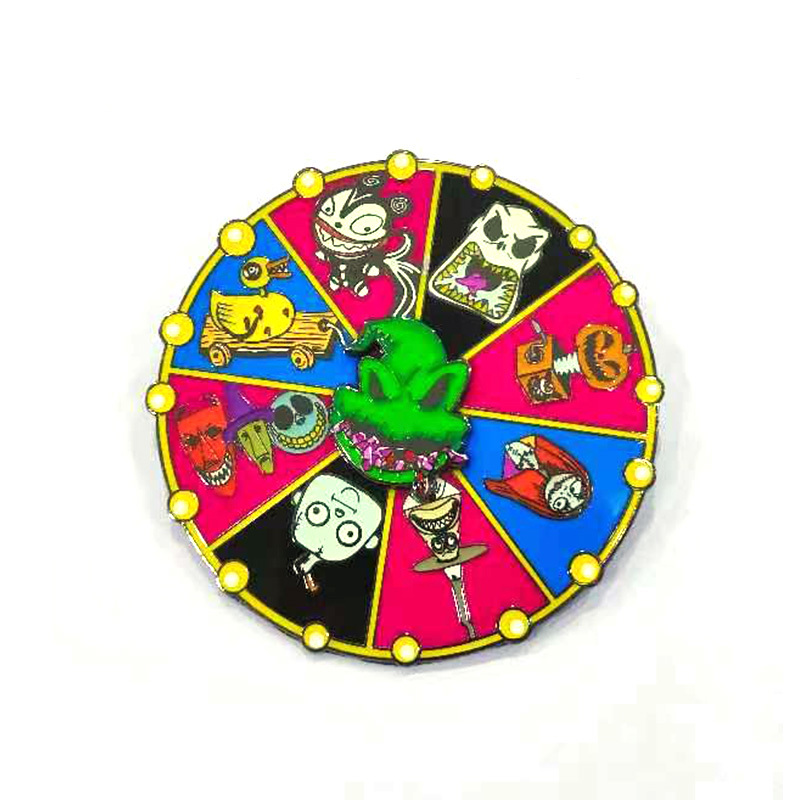
Gathering Your Supplies
Before we jump into the nitty-gritty, let's make sure you have everything you need. Here's a quick checklist:
- Embroidery hoop
- Fabric (preferably cotton)
- Embroidery thread
- Needle
- Scissors
- Iron-on backing or felt (for sturdiness)
- Fabric marker or pencil
With these supplies in hand, you're ready to embark on your badge-making journey!
Designing Your Badge
Now, comes the fun part—design! Think about what you want your badge to represent. Is it for a club, a personal motto, or maybe a special event? Grab your fabric marker and sketch your design on the fabric. Don't worry about perfection; just let your creativity flow!
As you design, remember that simple shapes and bold lines often make for great embroidered badges. You can even use templates if you're feeling a bit shy about your drawing skills.
Setting Up Your Embroidery Hoop
Once your design is ready, it's time to set up that embroidery hoop. Place the fabric in the hoop, ensuring it's taut and smooth. This will keep your stitches even and make your badge look professional. Tighten the hoop so it holds everything in place. You're almost there!
Stitching Time: How to Make an Embroidered Badge
Alright, here comes the real magic—stitching! Start with a basic stitch like the backstitch or the satin stitch. Here's a quick run-down on how to get started:
- Backstitch: Bring your needle up through the fabric, then back down a short distance ahead. Pull through, and then come back up a stitch length behind your last exit point. Repeat!
- Satin Stitch: Perfect for filling in shapes! Make parallel stitches side by side, covering the area completely.
As you stitch, keep an eye on your thread tension. Too tight, and it may pucker; too loose, and it might look sloppy. Just right is the goal!
Finishing Touches
Once you've completed your design, it's time to finish it off! Carefully remove the fabric from the hoop and trim any excess fabric around the edges. If you're using iron-on backing, simply follow the instructions on the package to secure it. This will give your badge that extra oomph and durability!
For an added touch, you can sew or glue a pin backing onto your badge, so you can proudly wear your creation wherever you go. Voila! You've just learned how to make an embroidered badge!
Show It Off!
Now that you've crafted your badge, it's time to flaunt it! Whether you pin it to your backpack, wear it on your jacket, or give it as a gift, your embroidered badge is sure to spark conversations and showcase your creativity. Who knows, it might even inspire someone else to get crafty!
Conclusion: Create, Share, Inspire
So, there you have it! A simple yet rewarding guide on how to make an embroidered badge. The next time you're looking for a fun project or a unique way to express yourself, remember this article. Gather your supplies, unleash your creativity, and get stitching! Happy crafting!
Previous Page
Previous Page
how to make an embroidered badge
Zhongshan Dongsheng Town Maidiwei Hardware Products Factory
Contact: Miss Kong
Contact: 13680105237
Email: baodifashion@126.com
Address: Gaosha Yuesheng Straight Street, Dongsheng Town, Zhongshan City, Guangdong Province

WeChat QR Code
©2023 Zhongshan Dongsheng Town Maidiwei Hardware Products Factory | SEO